RV Solar
Solar On The Side Explained (2026): How RV Solar Ports Work
Informational guide · Zamp ports, polarity, controllers, sizing · October 2026
Many newer RVs come with a small covered port on the sidewall labeled "Solar On The Side" or "Solar Ready." It looks like a simple plug, and dealers often present it as instant solar. The reality is simpler and trickier at the same time: the port is basically two wires to your battery, and the fine print matters. Wiring, polarity, and current limits differ from one RV to the next, so this guide covers how the port works, how to verify polarity before you plug anything in, why you need a charge controller, and how to make sure your RV can handle the kit you pick.
Affiliate disclosure: RV Solar Power Guide is reader-supported. When you buy through links on this page, we may earn a commission at no extra cost to you. Our picks come from comparing verified specs and price. We don't accept payment for placement.
What it is
A pre-wired SAE port on the RV sidewall, connected directly to the house batteries. No controller included.
What you need
A portable solar kit WITH a built-in charge controller. Never plug an unregulated panel straight into the port.
Polarity
Wiring varies by RV. Verify polarity with your manual and a multimeter before connecting. Use an adapter only if you confirm a mismatch.
Sizing
Limits vary by RV. Check your manual for wire gauge, fuse rating, and max solar input before choosing a kit.
01What Solar On The Side actually is
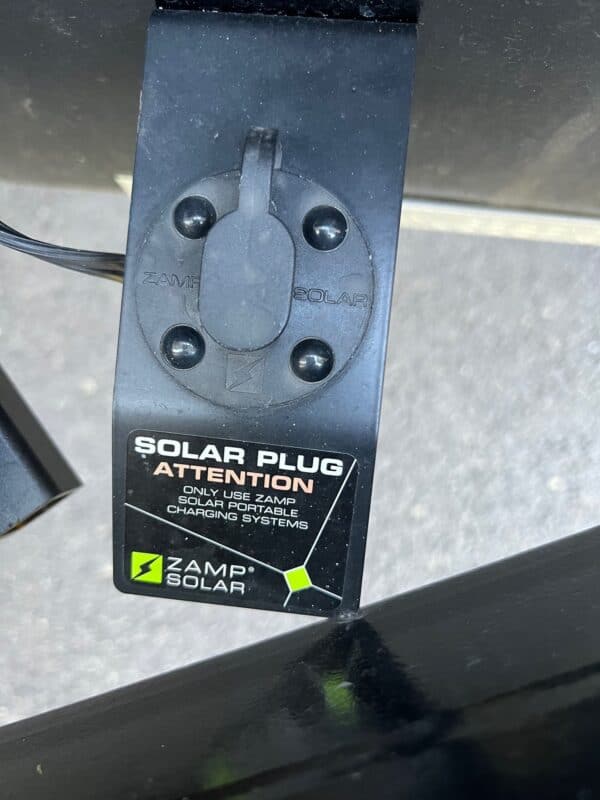
Solar On The Side is a factory-installed SAE two-pin port mounted on the exterior sidewall of the RV. In most installations, two wires run from that port to the house battery bank, often through an inline fuse, but the exact wiring, wire gauge, fuse rating, and connector rating come down to who built your RV and which model year it is. Your owner's manual has the real numbers for your rig. The port itself includes no charge controller, no inverter, and no solar panel.
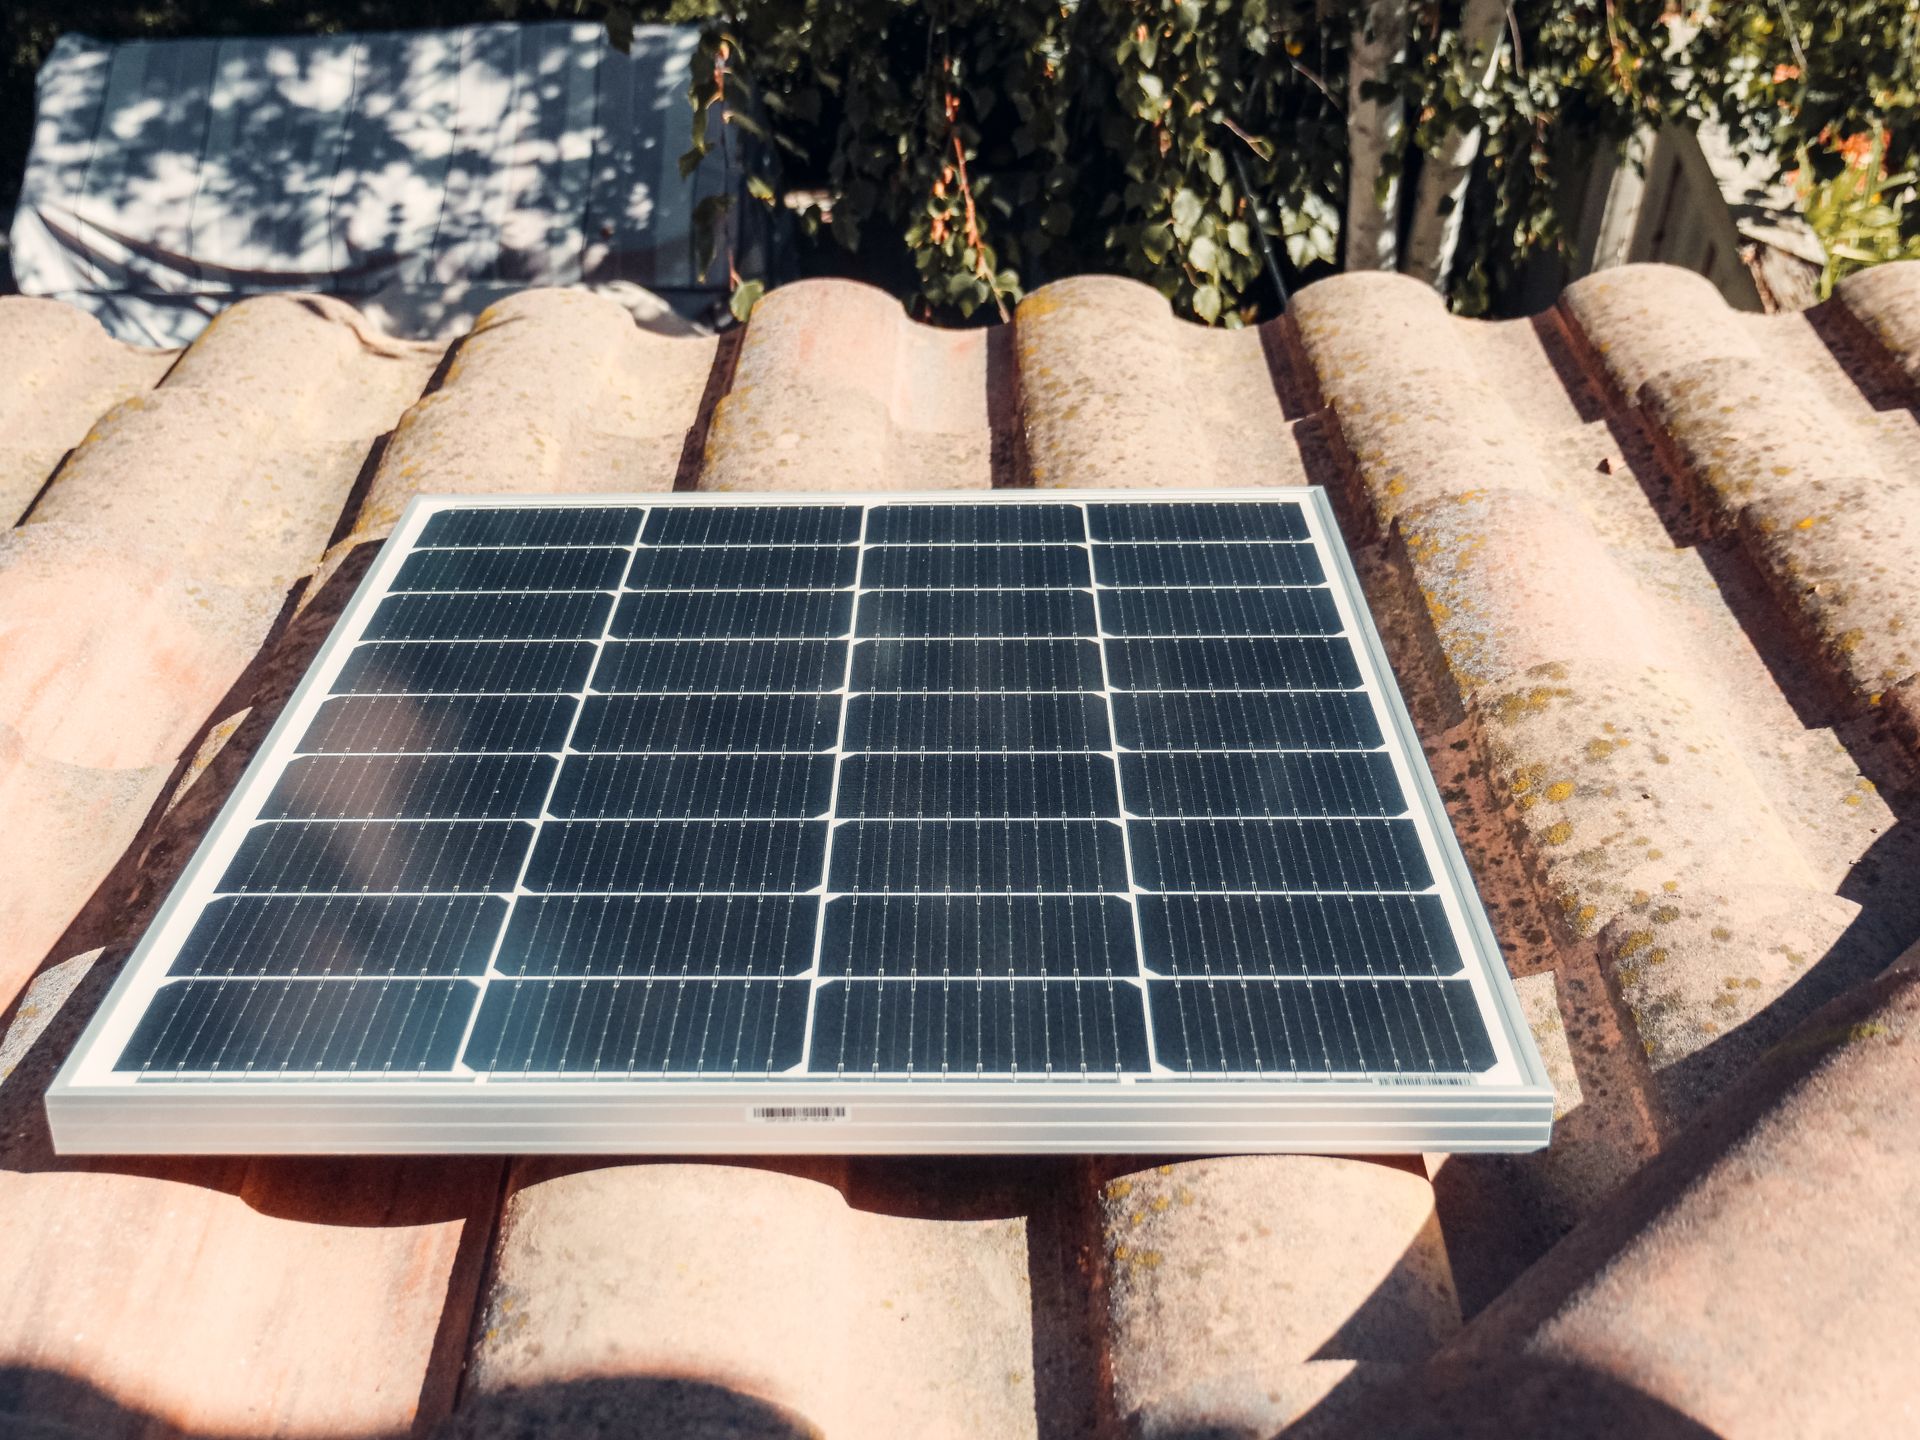
The idea is simple. Instead of permanently mounting panels on the roof, you buy a portable "solar suitcase" kit, unfold it in the sun, plug its cable into the sidewall port, and the panels charge your batteries. When you move camp, the panels fold up and ride in a storage bay. You can also park the RV in the shade and place the panels 20 feet away in full sun, which is something roof panels can never do.
02Why you must use a charge controller
Here is what matters most: the port connects straight to the battery with no regulation in between. A bare solar panel in full sun typically produces around 18 to 22 volts, while a 12V battery must be charged at controlled voltages that depend on its chemistry and charge stage. Connecting an unregulated panel to a battery-connected port risks overcharging and battery damage, so never do it.
You will run into three setups. Most portable "solar suitcase" kits have a built-in charge controller in the panel assembly or its cable; those you just connect per the kit manual. A bare panel has no controller at all, so it must only ever go through a separate controller wired up per the controller and RV maker instructions. Where the controller lives and how it wires in differs from product to product, so go by the actual manuals, not a generic diagram. And double-check the controller suits your battery chemistry (flooded, AGM, lithium), system voltage, and the panel's max current.
03SAE polarity: verify before you connect
The SAE connector is a common two-pin plug, but its wiring polarity is not universal. Some Zamp-wired RV ports use reverse polarity relative to common industry wiring, while other RVs and portable kits follow the standard layout. Because this varies by RV manufacturer, model, and model year, do not assume your port matches any particular diagram. Two SAE connectors can look identical while wired opposite, so appearance alone never confirms polarity.
Before connecting anything: check your RV owner's manual for the port's wiring specification, and verify polarity yourself with a multimeter at the port (with the battery connected and no panel attached, the meter shows which pin is positive). Compare that against your solar kit's manual.
If you confirm an actual mismatch between the port and the kit, a polarity-correcting SAE adapter made for this purpose is the safe fix. Do not rewire the port, the kit cable, or the controller yourself, and do not improvise connections. Connecting with incorrect polarity can damage the controller or other equipment, so verify first, every time. If the manuals disagree or anything is unclear, have a qualified RV technician verify the setup before first use.
04What size panel to use
What actually limits you is the wiring behind the port, not the port itself. Wire gauge, fuse rating, connector rating, and max solar input are all set by your RV's manufacturer, so look up the rated limits in your manual or on the labeling near the port before buying a kit. Stay under the documented fuse and wire ratings, no exceptions.
For rough current reference (at 12V nominal): a 100W panel delivers about 8 amps, and a 200W panel about 16 amps, before controller and wiring losses. Whether your RV's pre-wire supports that is a question only your manual can answer.
A panel's rated wattage is measured under laboratory conditions. Real-world output depends on sunlight intensity, shading, panel angle, temperature, controller efficiency, battery state of charge, battery chemistry and capacity, and any loads running at the same time. Size your expectations around your actual camping pattern, not the label wattage alone.
05How to use it, step by step
- Check your RV manual for the port's documented current and wattage limits, and confirm your kit is within them.
- Verify the kit includes a compatible charge controller (built in or separate, per the kit manual), rated for your battery chemistry, voltage, and current.
- Verify port polarity against the kit's requirements using your manual and a multimeter. Use a polarity-correcting adapter only if you confirm a mismatch.
- Unfold the panels in full sun, angled toward the sun if adjustable.
- Connect the kit exactly as its manual instructs, then plug into the sidewall port.
- Verify charging on the controller's display (current flowing, battery voltage responding).
- When breaking camp, disconnect and stow the panels per the kit manual.
06Common problems and fixes
No charging on the controller display
Work through these in order: confirm the panels are in full, direct sun and angled toward it; inspect cables and connectors for damage, corrosion, or loose fit; re-verify polarity at the port with a multimeter; check the controller's status indicators per its manual; confirm the battery disconnect switch position, since some RVs isolate the port when it is off; and inspect the inline fuse only as your RV manual instructs. Never bypass a fuse, short a connector, or open live wiring. If the cause is not obvious, have a qualified technician diagnose it.
Battery voltage not rising
The port charges the house batteries only. Charging may be slow or invisible if panels are shaded, the battery is already near full, or loads are consuming power as fast as it arrives. If your battery monitor uses a shunt, the solar wiring must be routed per the RV manufacturer's design for the monitor to register incoming charge; do not rewire this yourself. Persistent issues merit a professional check.
Can I leave it plugged in during storage?
Only with a regulated controller that provides a proper float/maintenance stage for your specific battery chemistry, and only if both the kit and RV manuals permit it. An unregulated connection will overcharge over time. When in doubt, disconnect for storage.
Frequently asked questions
What is Solar On The Side on an RV?
A pre-wired SAE port on the RV sidewall, connected directly to the house batteries. It lets you plug in a portable solar panel kit to charge the batteries without any installation. The port itself contains no charge controller.
Do I need a charge controller with Solar On The Side?
Yes. The port connects to the battery without regulation. Use a kit with a charge controller, or a separate controller installed per the manufacturer instructions, rated for your battery chemistry, voltage, and current. Never connect an unregulated panel to a battery-connected port.
Is Zamp Solar On The Side polarity reversed?
Some Zamp-wired ports use reverse-polarity SAE relative to common industry wiring, but this varies by RV manufacturer and model year. Check your RV documentation and verify polarity with a multimeter before connecting. Only use a polarity-correcting adapter if you confirm an actual mismatch. Incorrect polarity can damage equipment, so verify before every connection.
What size solar panel can I plug into Solar On The Side?
It depends on your RV. Wire gauge, fuse rating, connector rating, and maximum solar input vary by manufacturer and model, so check your owner's manual for documented limits first. Roughly, 100W is about 8A and 200W about 16A at 12V nominal, but confirm your RV supports it.
Can I use a non-Zamp panel with the Solar On The Side port?
Often yes, but verify first. The kit must be used with a compatible charge controller per the kit and RV manufacturer instructions, and polarity must match the port. Verify with your manual and a multimeter; do not modify wiring yourself.
Will Solar On The Side run my RV outlets?
No, not directly. The port charges the 12V house batteries for DC loads like lights and pumps. AC outlets only work if your RV has an inverter.